The home lab. Sounds cool, you should get yourself one ;)
Here’s how I got started quickly and cheaply.
Requirements
Besides cost and speed, I have a few other requirements and preferences that should help simplify the process and hopefully make it more useful long-term.
First, given that I’m writing this on my M1 Macbook - with it’s arm chip - it makes sense for me to have a dedicated x86_64 machine. Second, I want a stable, widely used, Linux OS meant for servers. One that has a package manager with large selection of packages but also plenty of resources online to help me troubleshoot and learn.
The answer, Ubuntu Server. Shocker!
Basically whenever I have to make a decision between a few options, the rule-of-thumb is to go with the simple, common solution.
Next, I need to decide what software to run on this home lab. For me, the immediate choice is Kubernetes. I want to learn more about how to manage a Kubernetes cluster without relying on one of the cloud providers to do it for me and this would be a fun opportunity to do so.
At first, this “cluster” will consist of one node which means application-specific pods will run on the same node as the control-plane and api server. Definitely not recommended for any serious workload but not a big deal as I get started.
Some might be asking why not just run multiple nodes on a VM layer. I may still do that but the idea of setting up a Kubernetes cluster on “bare-metal” sounds kind of cooool. Add a few more CPU nodes and perhaps a few GPUs and the possibility of running AI workloads is just that much closer.
I’m getting a little ahead of myself.
Hardware
Now to the hardware.
Where I can and if the price is right, I’ll go with used/refurbished.
Here at the core components that I ended up purchasing:
Lenovo ThinkCentre M910Q - refurbished
- Intel Core i7-6700T
- 32GB RAM
- 1TB NVMe SSD
- Price: $250
It came in great condition and with a keyboard and mouse. A bangin’ deal if you ask me!
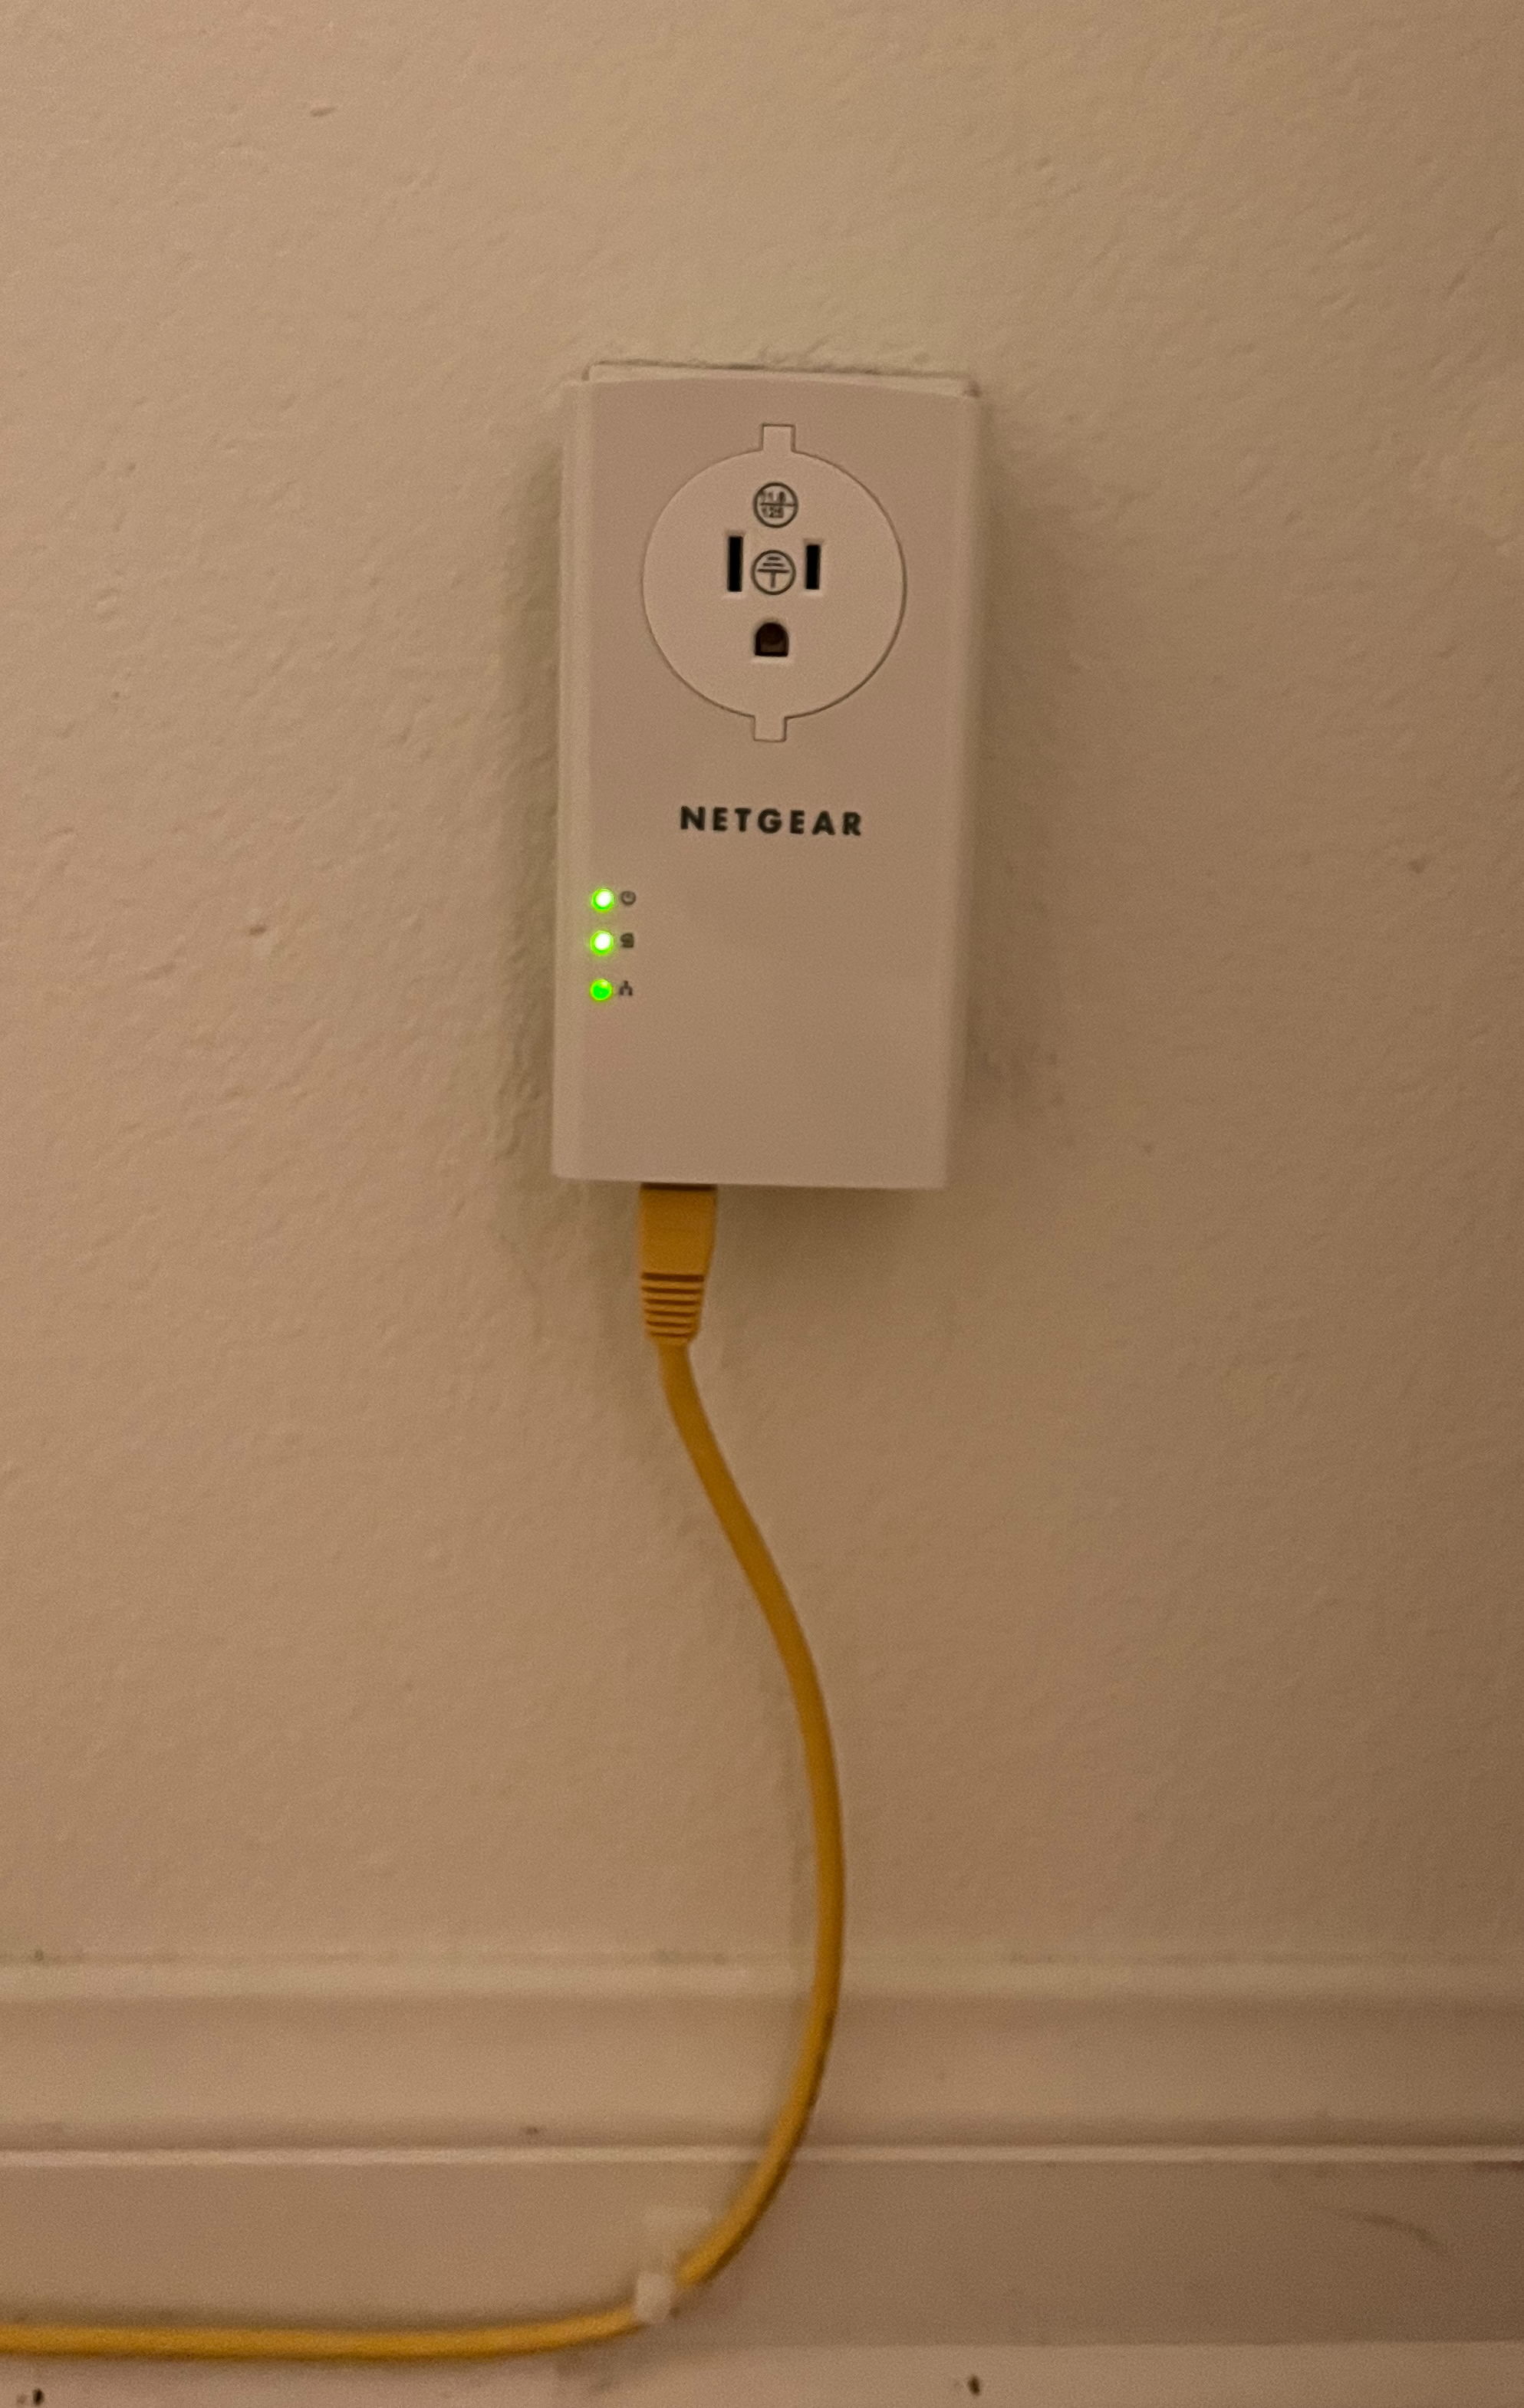
Netgear Powerline Adapter Kit - used
- 2 Gigabit Ethernet Ports with Passthrough
- Price $56
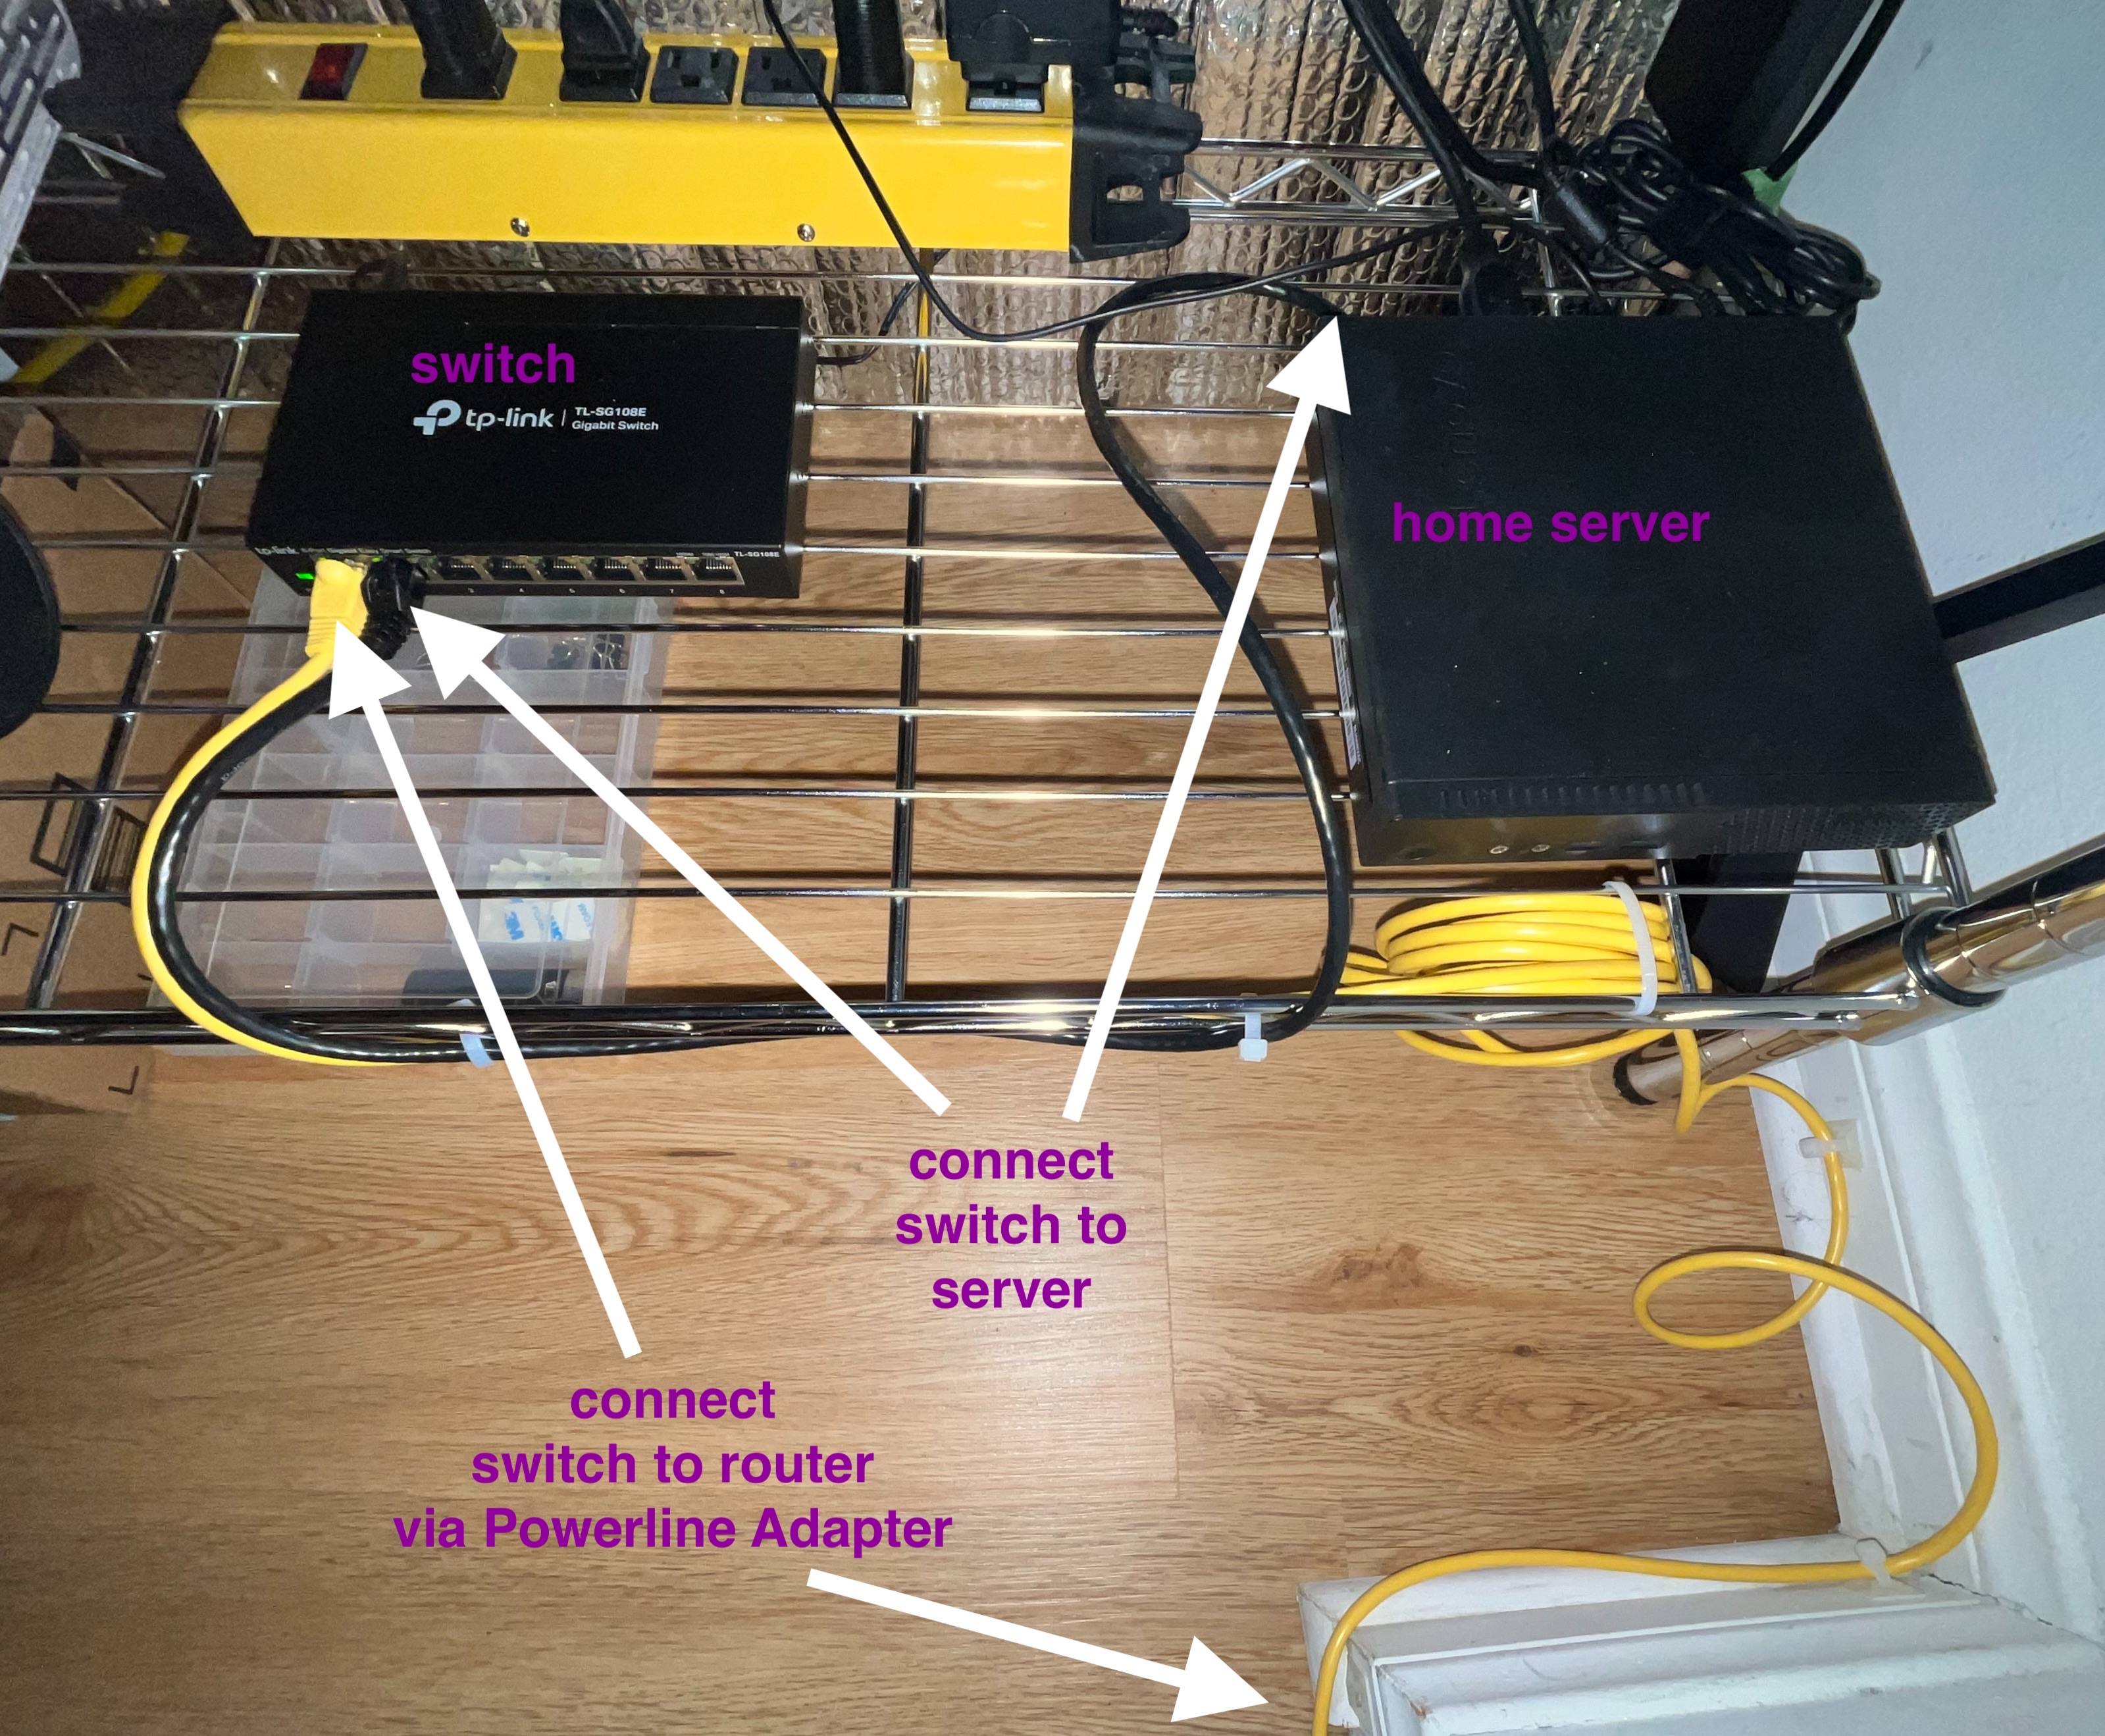
This was necessary for me and may not be for you. The modem and router in my apartment are in my roommate’s room. So to get ethernet to the home lab, I was able to use these adapters which transmit the ethernet signal over the cooper power cables in the house. This is a cleaner solution than running a long cable through the house.
TP-Link 8 Port Switch - new, half-off
- Price: $27
Not entirely necessary at this stage but will makes it easy to add additional machines in the future.
That brings the price of hardware to $333 + taxes/shipping. Nice!
In the process, I will make a few changes to my home office including reorganzing the office closet. Here are a few additional purchases I made to help organize my things a little better:
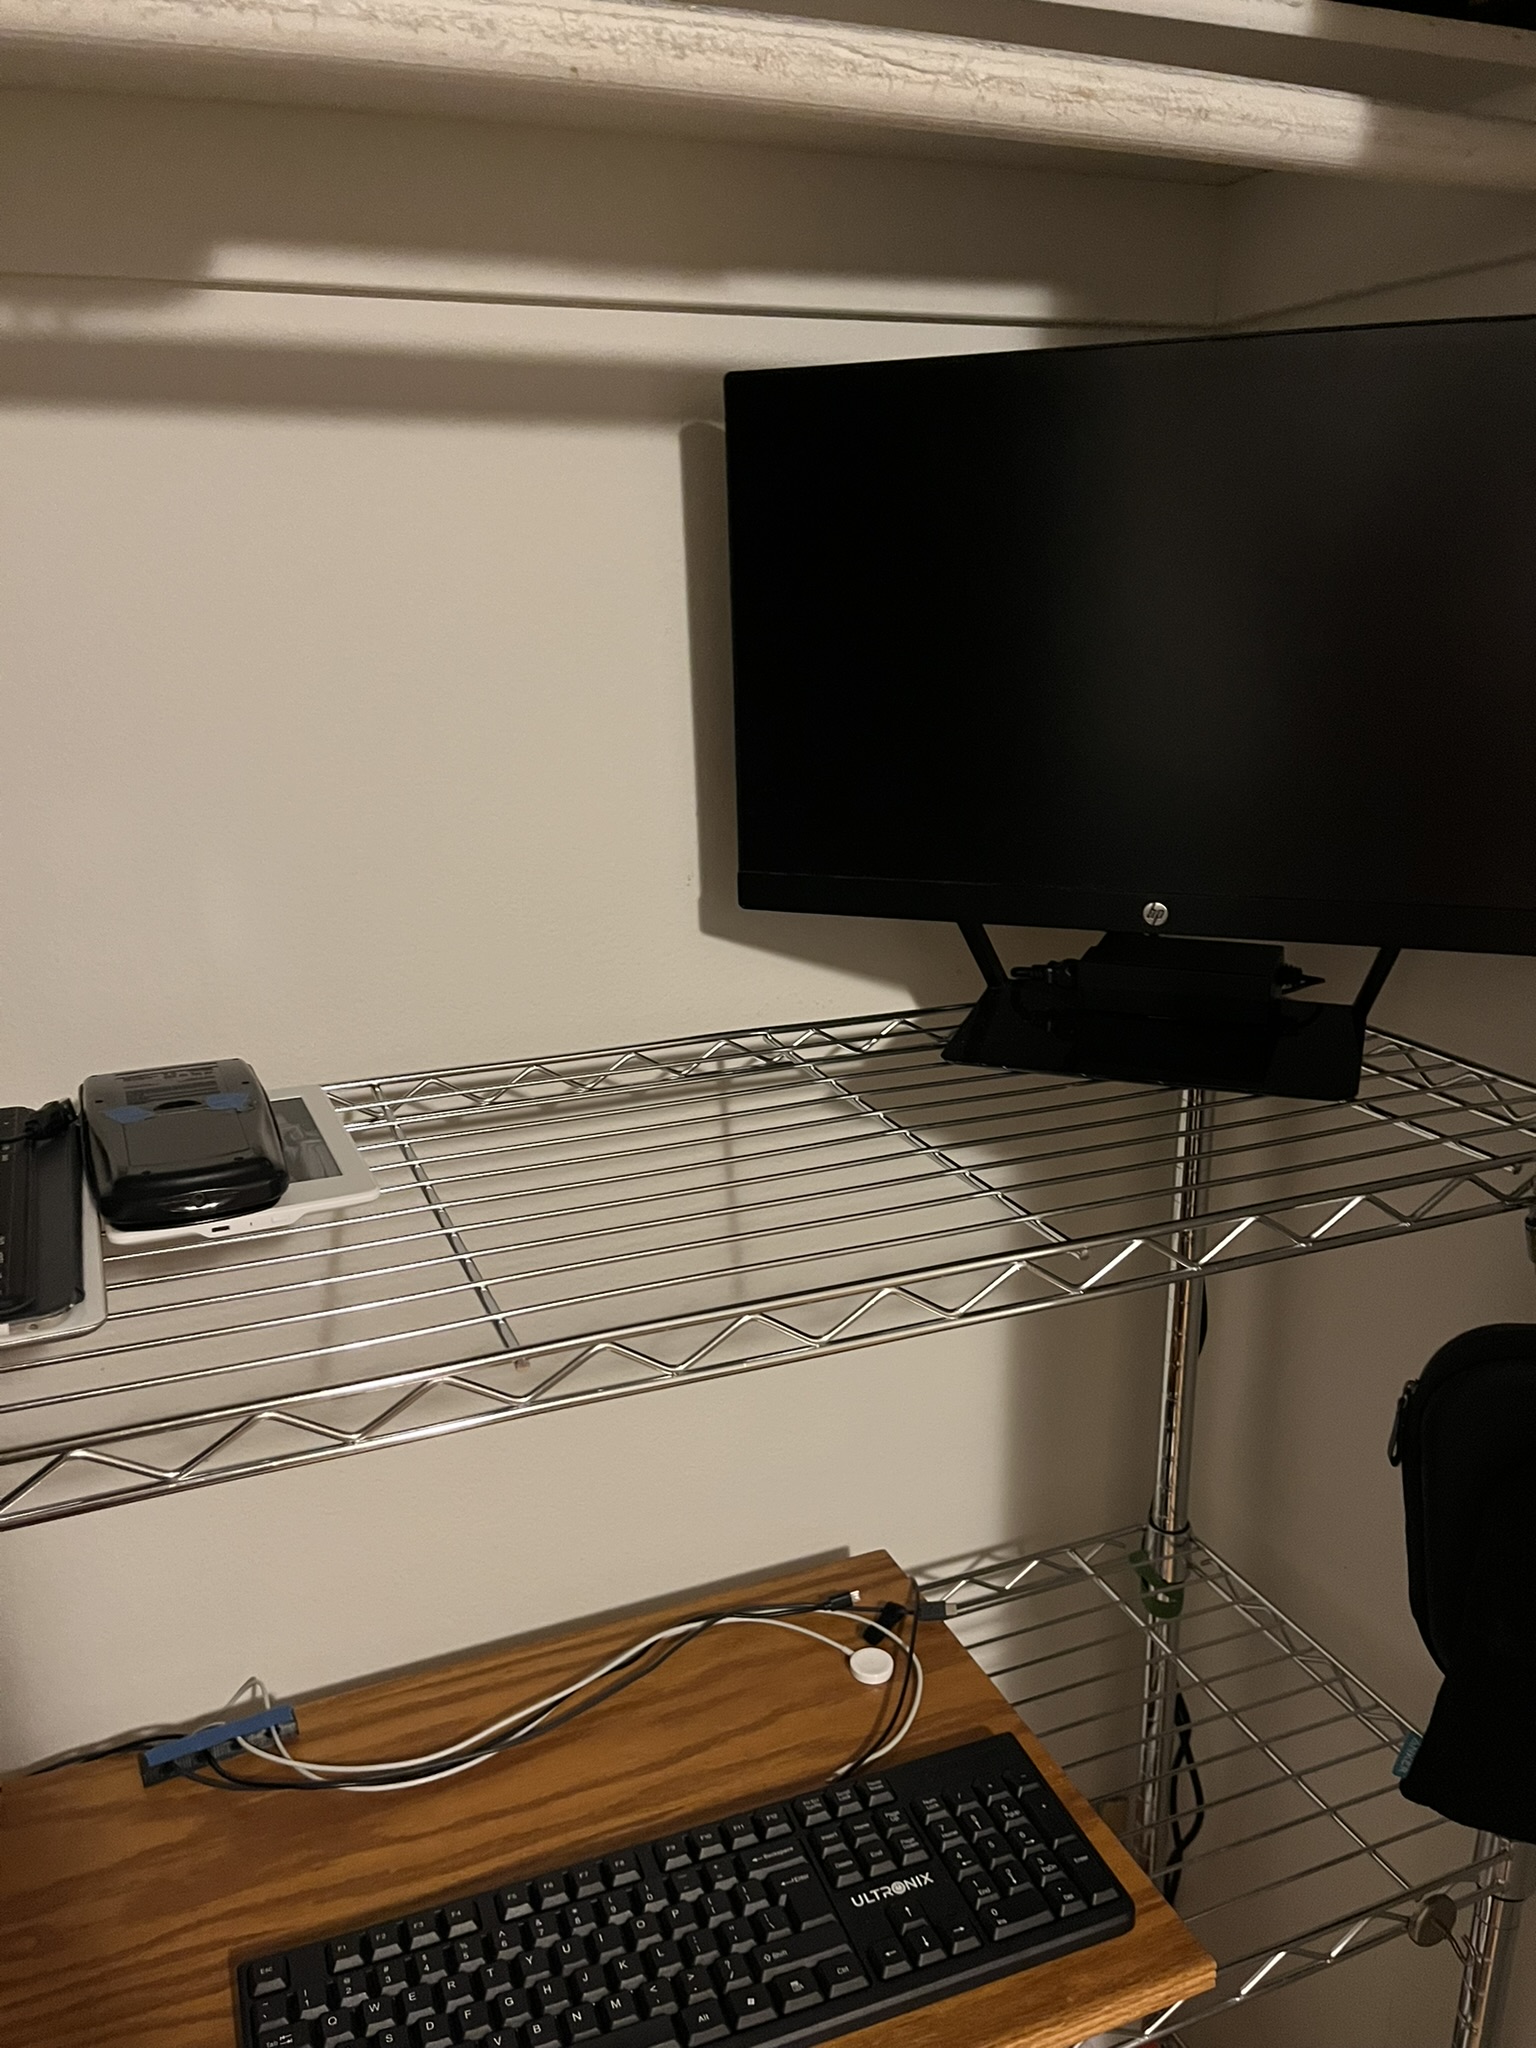
Luckily I had an old monitor lying around I used for the initially server setup. Finally with a pair of scissors, a few zip ties and a power strip, I have all that I need to get started.
Hardware Setup
The setup is straight forward.
Plug in one Powerline Adapter to outlet near the router and then connect it to the router with an ethernet cable.

Plug in the other Powerline Adapter near the home lab and connect it to the switch (yellow cable). Connect the switch to the home lab (black cable).

Connect the monitor, keyboard and mouse, then turn on the server.

That’s it for the hardware setup.
Conclusion
I’m excited to get started with this project. I’ve been wanting to do this for a while and I’m glad I’m finally getting around to it. In another post, I’ll go over the the initial configuration of the server and Kubernetes setup.
Looks over both shoulders…. I just setup a desktop computer in my office closet and called it a home server.